Latte Art has been persistently delighting coffee lovers for years. What once began as a gimmick" and is still sometimes belittled by hardcore coffee fiends has long since developed into a craft in its own right, with patterns like hearts, leaves or flowers drawn in milk foam turning every cup into small works of art.
But can this sophisticated coffee art only be admired in coffee shops – or can a home barista make them too? Falstaff collected numerous tricks of the trade, even asking Austrian latte art champion and Biest Coffee owner Alina Kirchner, won the Austrian competition last year and qualifies for the World Championships in California next year.
"It has to be espresso"
Latte art originated in Italy and refers to the technique used by baristas to conjure artistic patterns up milk foam. Visually fascinating it also conveys quality, care and craftsmanship. Furthermore making it at home is easier than it would appear: with a suitable coffee machine, fresh milk, the right frothing technique and a little practice, you can conjure up these little works of art yourself.
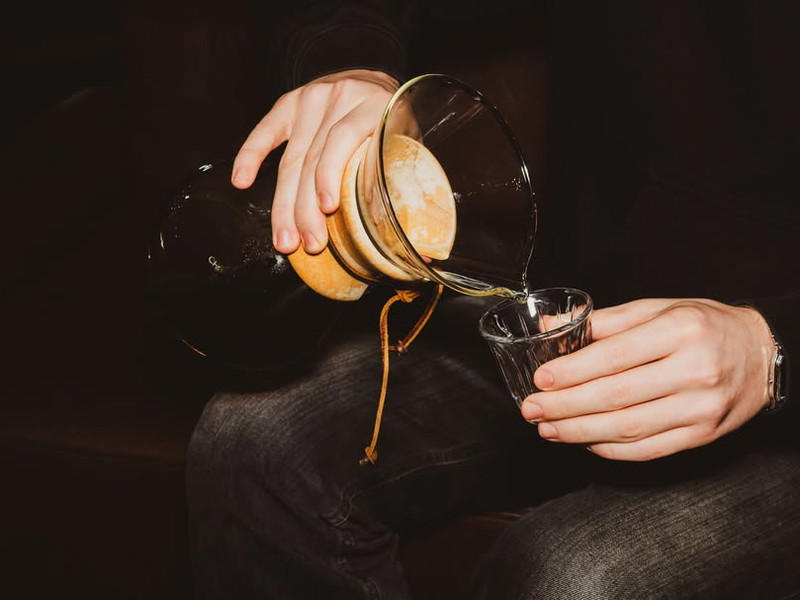
The coffee comes first: If the base isn't right, the latte art won't work either. "It has to be an espresso, so the contrast between the coffee and milk is right and the crema is stable," explains Kirchner. The best choice is a portafilter or fully automatic machine – filter coffee won't work.
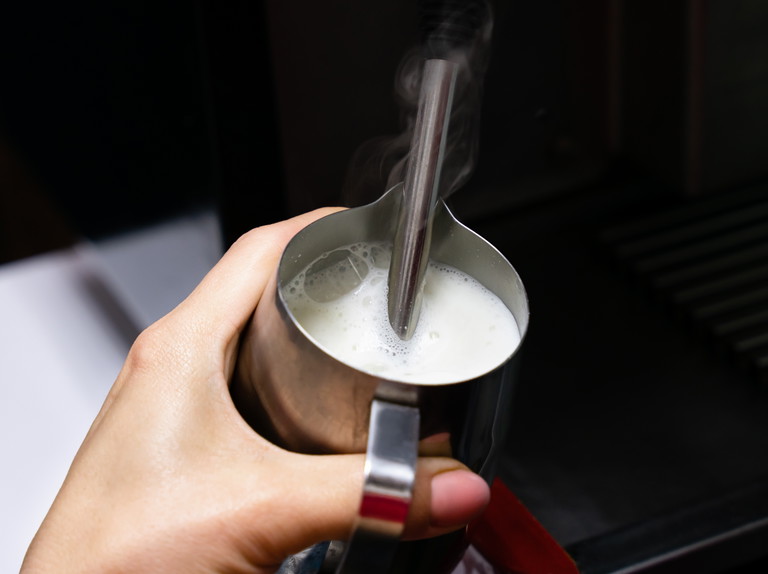
The perfect foam
But the milk also plays a decisive role: Cow's milk with around 3.5 percent fat is recommended for classic milk foam, as it tastes creamy and froths up well. Less fat content does make the foam more durable, but the taste suffers. Among plant-based variants. Oat milk is particularly suitable: It is easy to draw with and similar to the consistency and frothability of cow's milk – which is why it is often used in latte art competitions.